If you plan to buy a fat separator, it is best that you also know how to use it. With that, this article will provide you a complete guide on how to use a fat separator.
Planning to buy a fat separator? Though it’s a good idea to buy one, still it will be useless if you aren’t capable of using it right. Good to know that learning how to use a fat separator could be easy especially if you are guided with the right steps on how to do so.
Here, you will be guided on how to properly use a fat separator. So, just continue reading below.
More...
What Is a Fat Separator?
First, let us define fat separator. It is referred as a container that is designed to separate fat from the meal stock. But what is this meat stock? Well, this is the tasty and meaty juice you will get out of boiling any kind of meat.
In fact, there are numbers of meat stock recipes that are available with just a click away. They are a very good base in order to make a gravy that gives them a very rounded yet hard to define taste. And also, you could make a lot of different soups with meat stock.
Now that you have an idea about what fat separator is, let us proceed to the proper way of using it.
How To Use a Fat Separator?
Items Needed
Prior to using the fat separator, there are items that are considered to be important during the process. These items are the following:
Fat Separator
Of course! You will need a fat separator in this process. Again, it is referred as a gravy or soup strainer that is great when it comes to separating the liquid fat from the stock in order to make lean soups.
A fat separator is also designed in order to discard the fat from the drippings of meat prior to turning them into a delicious gravy.
Since we are to deal with hot stock or drippings, it would be a lot more advisable that you use a fat separator that is made of glass. The fat separator will have a measuring guide that will help you in telling how much ounces was being poured in the equipment.
With this, you will definitely get the right measurements for the best soup or gravy.
Once planning to prevent yourself from buying a unit with a slippery handle, plastic fat separator could be considered but make sure that it is also BPA-free and heat-resistant free as well. These models will allow the liquid to be released from the bottom.
Homemade Gravy
Another item needed is the homemade gravy. You could enjoy healthier gravy through discarding the liquid fat using a fat separator. You might directly pour the gravy into the kitchen equipment in order to strain the lumped ingredients as well as the fat prior to serving.

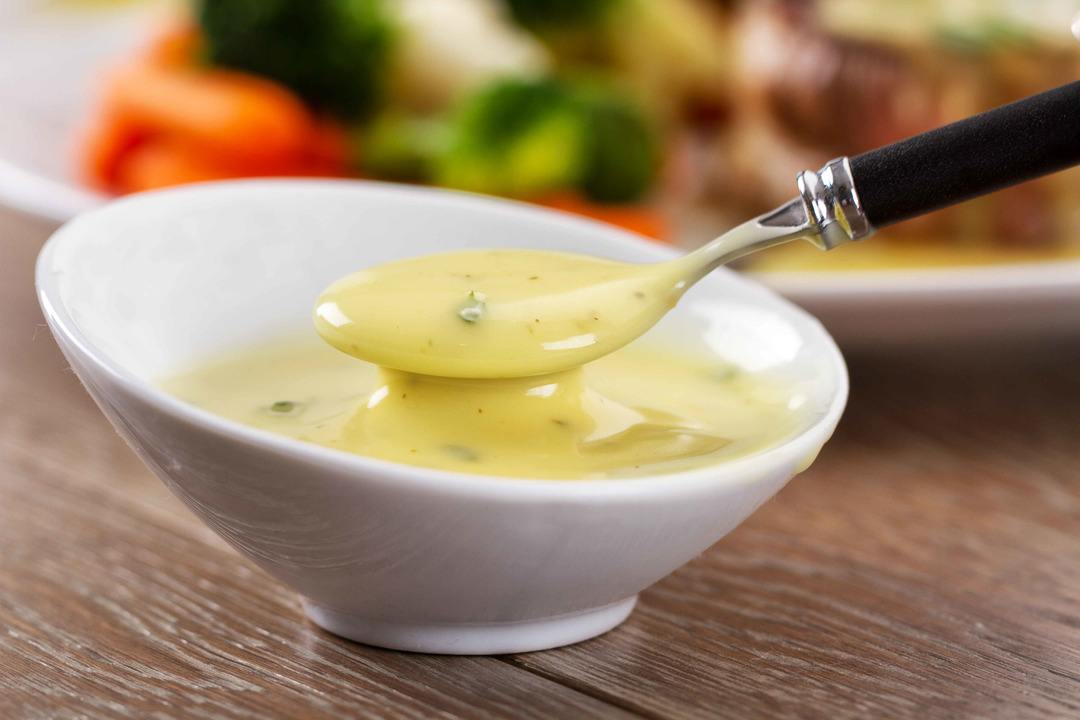
HOMEMADE TURKEY GRAVY via Whats ga by cooking
Meat Stock or Broth
Consider using any type of stock that you have like seafood, beef or pork. This stock will be used specifically as a base for the sauces and soups.
The process of creating stocks would involve boiling animal bones or meat in water or wine.There are also several spices that might as well be added in order to come up with a more aroma and flavor.
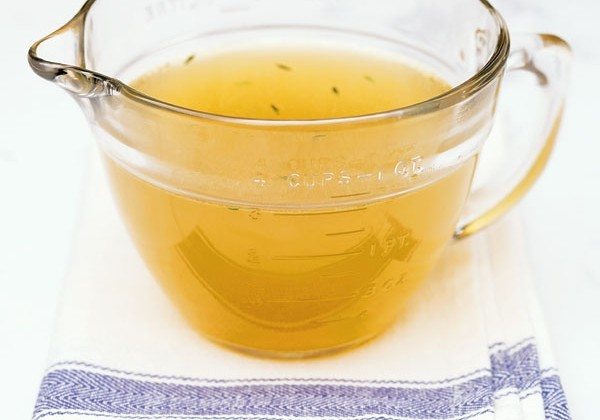
Meat Stock via Dilicious Magazine
If there is no broth or meat stock, you might use other alternative ingredients.
Pan Juices
These are the natural juices which are emitted by meat once roasting. You might use these for gravy. And if you have some pan juices from your roasting pan, there is a need to remove the solid ingredients using the fat separator.
Bowl
This item might be needed to contain the fat-free liquid from the unit. Its size must correspond to the amount of gravy, stock or pan juices which you will be straining.
If you will strain a volume of stock, you need a large bowl instead.You must also consider using a heat-resistant bowl.
It is more preferred to use glass bowl than a plastic bowl since there will be no chemicals to leach into the gravy or soup. But, if you really want a plastic bowl, BPA-free ones should be considered.
Other Optional Items
- Strainer: If the type of fat separator has no strainer then you might need a strainer in order to separate the solid ingredients from the liquid so a regular strainer might be considered.
- Ladle: For those with a larger pan that’s so hard to pour neatly into a fat separator, a use of ladle is best. Simply scoop the liquid and carefully transfer it to the unit.
Steps on How to Use a Fat Separator
Step 1. Prepare The Gravy, Stock or Pan Juices
You might prepare the stock by simmering the meat or bones of beef, seafood, pork or chicken with water or wine. Add some spices and herbs that would make the stock taste a lot more delicious.
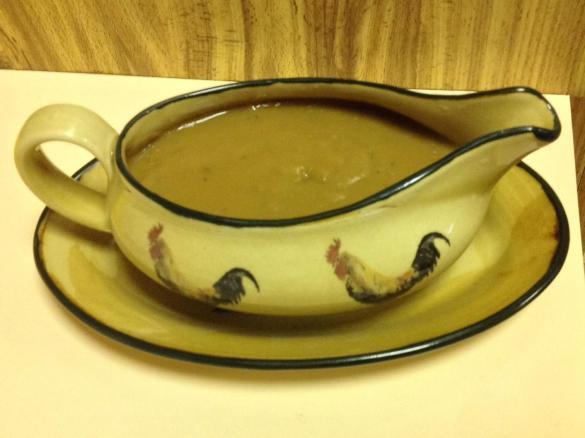
Traditional Panjuice Gravy Via Recipe Community
Also, remove the fat from the gravy prior to serving your favorite dishes. So, you want a gravy that has no bits of ingredients?
Then, use a fat separator. And once roasting some meat in the pan, you must not throw the juices since you can use them in making a gravy sauce.
Step 2. Pour The Liquid Into The Unit
Oh, before you do this, there must be an assurance that you put the strainer on top. But, if there is no built-in strainer, use a regular strainer in order to remove the solid ingredients from the liquid.
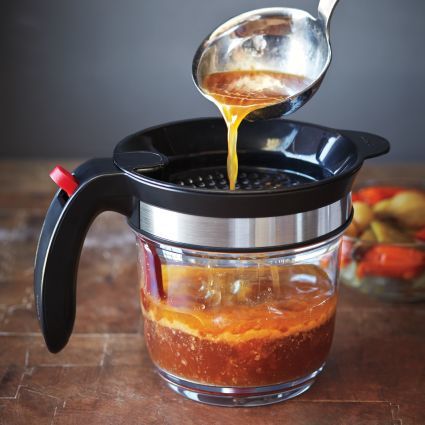
Pour the liquid into the fat separator via South end formaggio
However, if there is a built-in strainer like the OXO Fat Separator, I assumed you also notice that this strainer is great in terms of catching the spices and herbs such as onions, peppercorns or leaf.
With this, you can directly pour the pan into the fat separator or you might use a ladle once the pan is too big to handle.
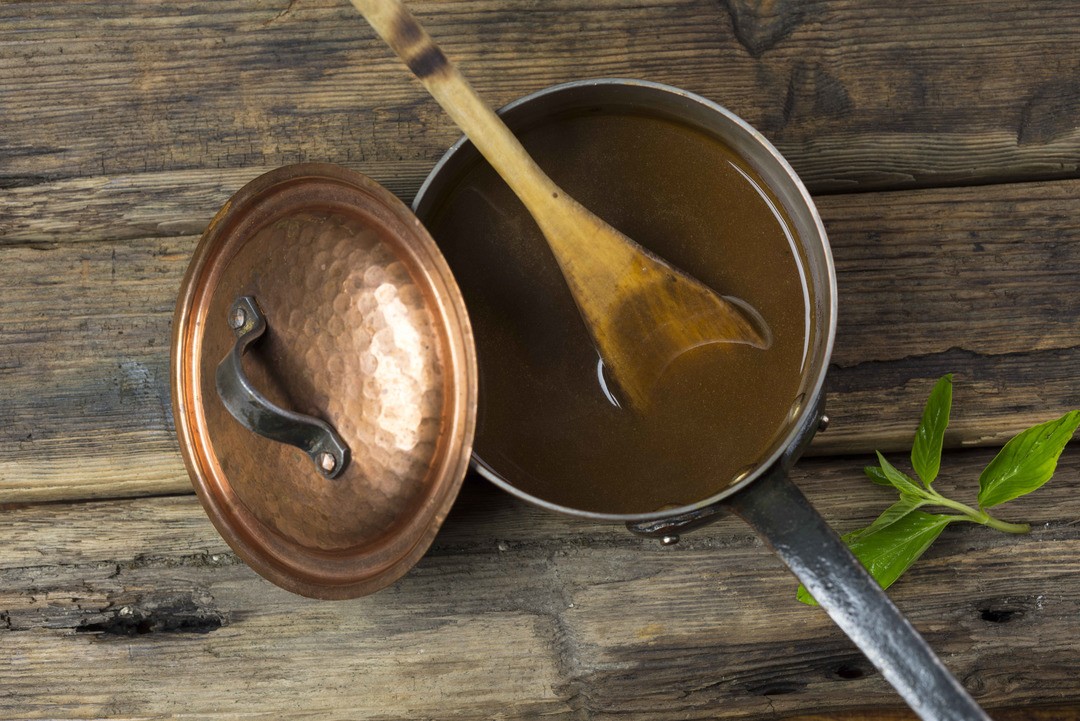
Step 3. Now, Wait For the Liquid to Settle
If all the liquid had been poured in the fat separator, you have to wait for the juices to settle for about a minute or so. Right at this stage, you might probably notice that the oil begins to separate away from the juices or stock.
In most cases, the oil gathers above the stock since the water and fat never combine. The spout on the fat separator will work by drawing the liquid from the bottom.
Step 4. Pour The Fat-free Liquid to The Bowl
For those who are using a pitcher-type fat separator, you only need to tilt the unit up until the fat-free liquid comes out from the long spout slowly. Simply imagine that you are pouring a glass of water on another glass and you have to do it gently.
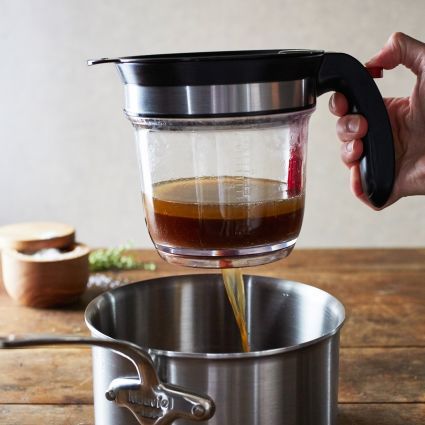
Pour the fat-free liquid into a bowl via South End Formaggio
However, if you use a model with a bottom liquid release, simply press down a lever in order to release the sauce at the bottom. You could only stop pouring the fat-free liquid once you reach to the layer of fat which was floating above the liquid.
Step 5. Use The Liquid for Soup or Gravy Base
If you have finally transferred the liquid into the bowl, you will surely notice that the oil left in the fat separator. You have to discard the fat and the unwanted bits in the strainer prior to cleaning it in the water.
You might use this fat-free stock as the soup base and you might also use the fat-free juices from the pan as an ingredient for the gravy or sauce.
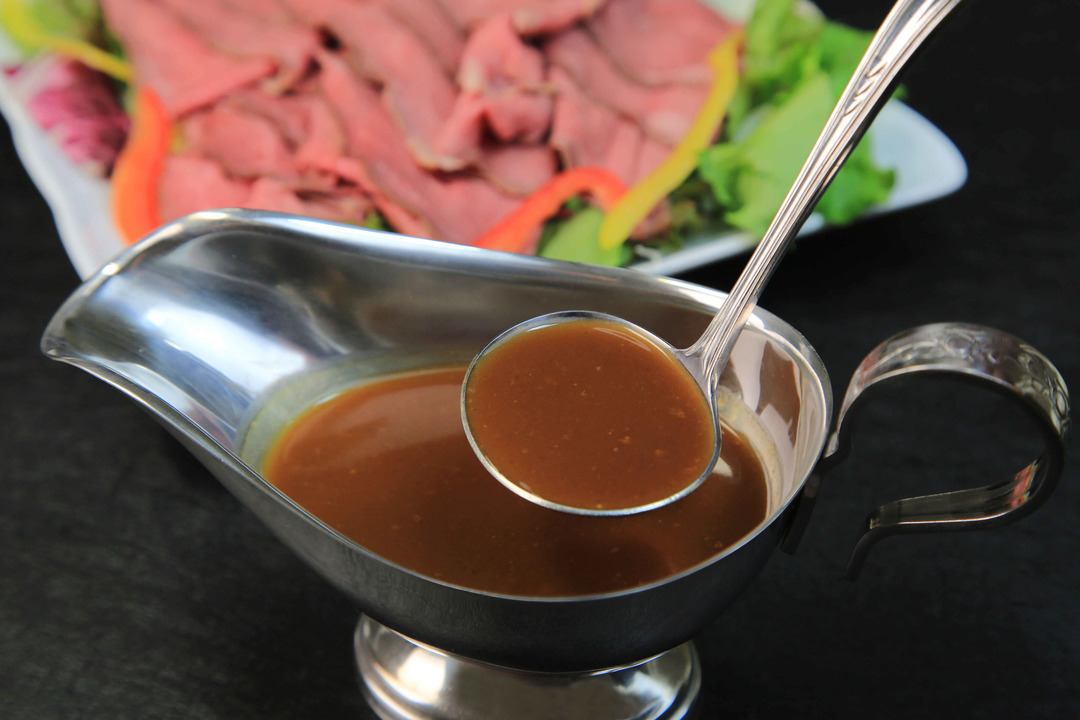
Here’s a quick and easy guide on how to use a fat separator:
- Make sure that the stopper is in place and it snugly fits in the snout.
- Put the strainer at the top of the fat separator and line it with some coffee filter paper once you have one available in order to strain the stock a lot better.
- Put the stock into the fat separator carefully and the solid imperfections must be strained well.
- Leave the stock to settle for about 5-10 minutes or up until you can see the fat has clearly separated from the stock juice.
- Remove the rubber stopper from the end of the snout slowly.
- Pour the stock juice slowly into a new container and you might notice the fat is left behind.
- You have to make sure that you only pour the stock juice and not the fat.
- And finally, the stock juice is now ready to use.
- Simply follow the steps and you are guaranteed to use the fat separator properly and safely.
Final Thoughts
Finally, you are guided in terms of using a fat separator. If you are in a situation wherein you want to buy fat separator but you doubt because you don’t know how to use it, you’ve come to the right place.
This guide on how to use a fat separator aims not just to let you learn using the said unit but more than that, to help you understand more the importance of having a fat separator. OXO Fat Separator is a recommended option to consider.
Is this guide helpful to you? If yes, why not share this article with others as well? And we will be very happy to hear your thoughts about using a fat separator. Please leave your comments below.
Leave a Reply